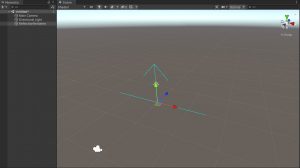
Adding reflections to a scene with PIDI : 2D Reflections 3 is very easy and it can be done within minutes by following this small series of steps. First, let’s create a Reflection Renderer object in our scene by creating an empty object and adding the Reflection Renderer 2D component to it.
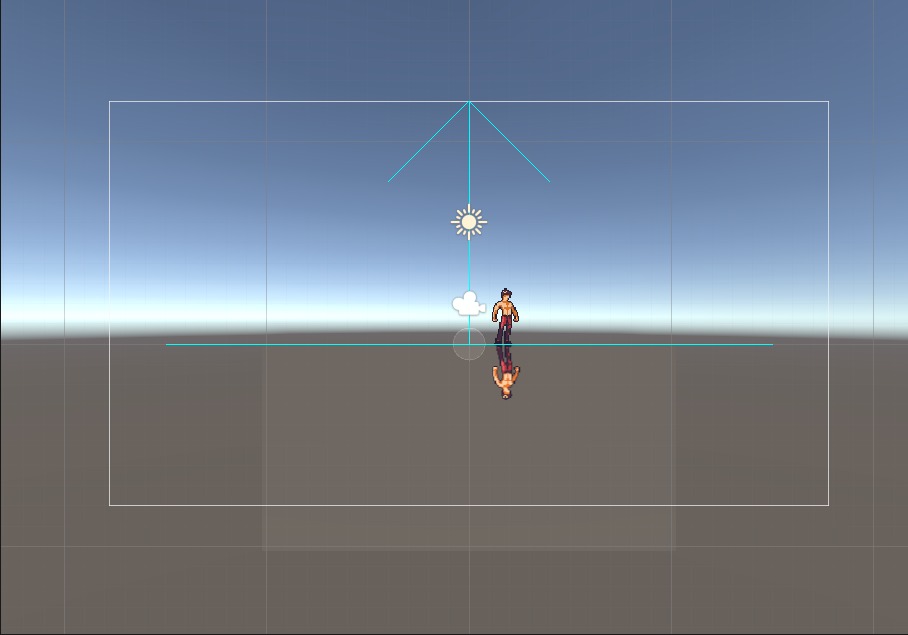
We will also need something to reflect, to see that everything is working as supposed to. In this case, we will add our character sprite included as part of the demos for the asset.
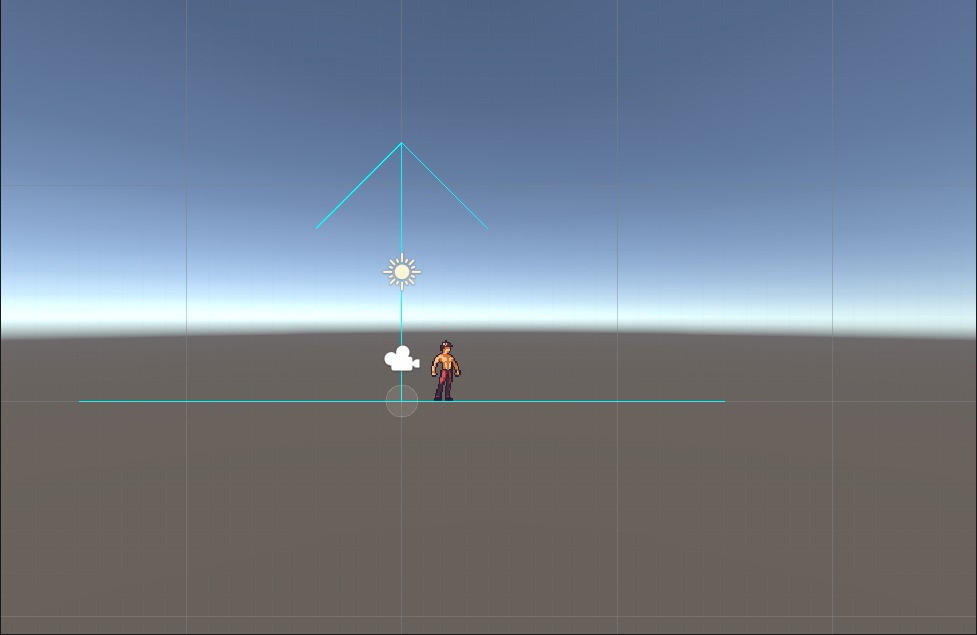
Then, we will create a new sprite object and assign a sprite to it. For this tutorial, we recommend adding the included 2D3_WaterDemoSprite as it has the pivot point placed already in the correct spot. We will also assign one of the reflective materials included with the asset, in this case, the Unlit Basic material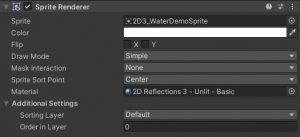
We will also add the Reflection Caster 2D component to it, and assign our Reflection Renderer to its Reflection Renderer slot. After doing this, the reflection will appear immediately on the screen.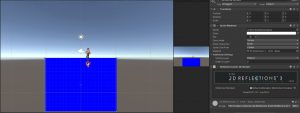
As you can see, the reflection’s background is a bright blue. This is because by default, reflection renderers are set to use a custom color as its background color. We can switch this value to Match Camera in the Reflection Renderer component, which will immediately make it reflect the Skybox or whatever custom color the camera is using.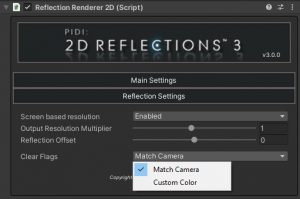
And just like that, in these simple steps, you have added simple and fully functional 2D reflections to a scene.