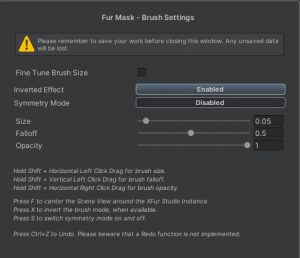
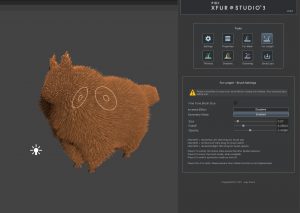
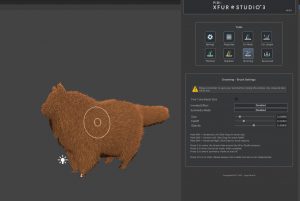
XFur Designer has a total of five different painting tools available to you. Each one of them work as “brushes” with adjustable sizes, falloffs and opacities. Furthermore, they can be operated in a symmetric and or inverted mode. This functionality is similar to that found in many 3D painting softwares.
All brushes can be easily adjusted with the mouse in a similar manner as in other 3D painting softwares. In the UI you can find all the shortcuts to control the brush’s size, opacity and falloff. While an Undo feature has been built into the tool, you are heavily encouraged to save your work frequently by exporting it.
The first “brush” is called Fur Mask. Using it in the default mode will remove fur from the model, while using it in “Inverted Effect” mode will add it back.

The second brush controls the Fur Length. When “inverted” it will make the fur grow in length up to the maximum length defined in the Fur properties. When in standard mode, the brush will shorten the fur.

The third brush controls the Fur Thickness. When inverted, the brush will make the fur thicker up to the maximum thickness defined in the Fur properties. When in standard mode, the brush will thin the fur.
The fourth brush controls the Fur Shadowing. When inverted, the shadowing (or occlusion) will be removed gradually from the fur, and when in standard mode, the brush will increase the shadowing up to the maximum Occlusion defined in the Fur properties.
The fifth and final brush controls Fur Grooming. Dragging your mouse will groom the fur in the given direction while in standard mode. When in “inverted” mode, the brush will remove all grooming information and restore the fur to its default direction.

Once you are happy with the way the fur looks once you have modified all of its settings and painted its properties, then you can head to the Save/Load tab.
Below you can find a small video timelapse showcasing how fur was customized and adjusted for one of our models, a German Shepherd Dog.
