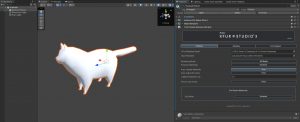
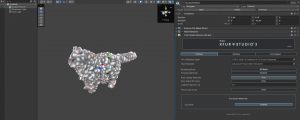
In order to understand all the features available in XFur Studio™ Designer, we have approached this documentation as a simple tutorial that will ask you to work on the “Eustace the Cat” model, included with the asset. To begin with this, let’s add Eustace to any scene, select its root object and add the XFur Studio Instance component to it. Then, press the Settings tab.

At this point the component will have already attempted to automatically assign as many of the needed resources as possible, including the first XFur Database and the first XFur Strands Asset that it could find, as well as the first renderer available in your model. If everything seems correct, enable fur rendering in the Cat_White material by changing its value to “Enabled”. Fur will be displayed immediately. However, this fur will most likely not look completely right.

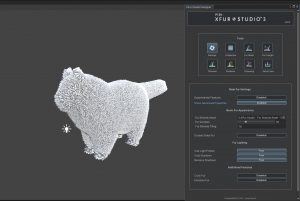
To solve this, we will switch to the Fur Designer tab and press Enter Edit Mode. This will open the XFur Studio Designer window, in its Settings panel.

In this panel you can enable Experimental and Advanced features for the fur rendering, such as Rim lighting and strand color variation settings. You can select which Fur Strands asset to use in order to control the appearance of the fur, the amount of fur samples to render (more samples produce a better-looking fur at the cost of performance) as well as the tiling of the fur strands map. For this tutorial, we are going with a tiling of 18, using the Curly Procedural strands and enabling advanced properties. For desktop / consoles any number of samples between 16 and 30 will produce great results. For mobile and lower end devices aim for a sample count under 16 fur samples.
Additional settings available to control are whether the fur will interact with light probes as well as whether it will receive / cast shadows or not. In the Universal RP the shadow casting properties have to be defined from the XFur Studio Database since it depends on additional shader-based keywords.
Curly fur properties as well as the emissive channel (useful for fantasy creatures) can also be enabled from this panel. Once you have your initial setup ready, we can move on to the Properties panel.
