
The Planar Reflection Renderer is the script responsible for rendering the real-time reflections and their corresponding depth pass.
General Settings
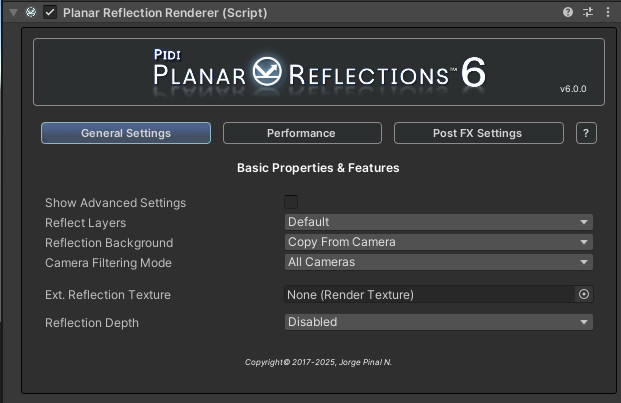
The General Settings tab contains the essential features and settings of a reflection renderer.
The Reflect Layers drop out menu allows you to select which rendering layers will be rendered by the reflection.
Reflection Background allows you to control the background (or Clear Flags) of the reflection. It can be copied from the camera looking at the “mirror” surface, it can be set to be the Skybox, a Solid color or Transparent (useful for AR). The Camera Filtering Mode setting is useful to define which cameras will trigger a reflection-rendering pass. By default, all cameras (except preview and internal reflection cameras) will trigger a reflection-rendering pass. The other options are By Component (which makes only the cameras with the Planar Reflection Camera component attached trigger a pass) and By Prefix, which filters the camers based on their name.
Optionally, the reflection can be rendered to an External Render Texture provided by you. This is useful when the texture needs to be manipulated by external shaders for unique effects or when additional control over its format / properties and access is required.
Sometimes it is necessary to render a reflection’s depth besides its color. This depth can be very useful when working in AR as it allows to mask any reflected objects and remove their background very precisely. It can also be used to simulate contact reflections (reflections that look sharper the closer the object is to the reflective surface), etc. This however requires an additional render pass, which is expensive. In most cases, it should not be necessary to render the depth pass. 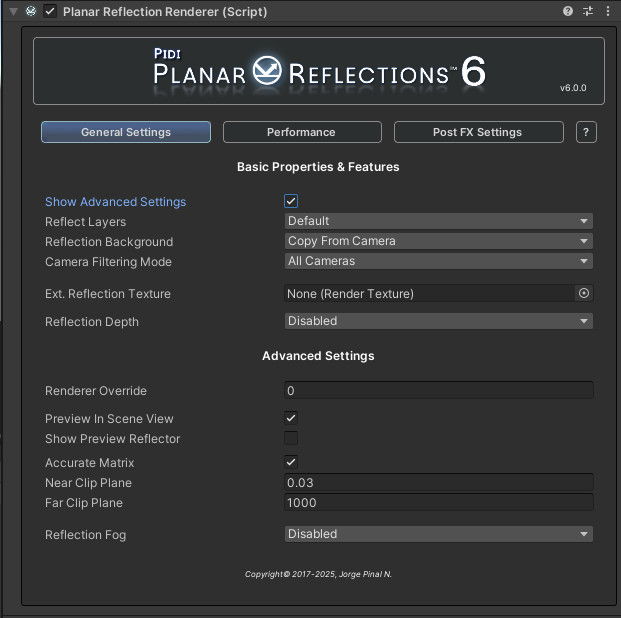
In the Universal Rendering Pipeline it is sometimes required to use additional and custom Render Passes as part of your rendering pipeline. Some of these passes may be quite expensive or may, in some cases, be incompatible with Planar Reflections. In those cases, it is useful to create an additional Renderer for your Universal Rendering Pipeline Asset and remove from it any unnecessary passes, then assign its index to the Renderer Override variable. It can also be useful for rendering reflections with custom effects that should not be present in the main camera view.
A reflection is, by default, Previewable in the Scene View. This means that all reflections will be visible at Edit and Play time on the Scene view, allowing for an easier and much better workflow. However, in complex scenes, this may cause some performance issues. For those cases, you can disable it and run the reflections only on the Game View. The Accurate Matrix toggle makes sure that the projection of the Reflection Camera is adjusted to match the surface of the reflective plane. This prevents objects that are partially or totally behind the reflective surface from being rendered. In some rare cases, it may also cause visual glitches in some very specific projection-dependent effects, or disable them entirely. Reflection Fog is a legacy, now obsolete setting that adds a custom fog pass to the reflections. In most cases reflections should display fog properly without any additional tinkering.
Performance Settings
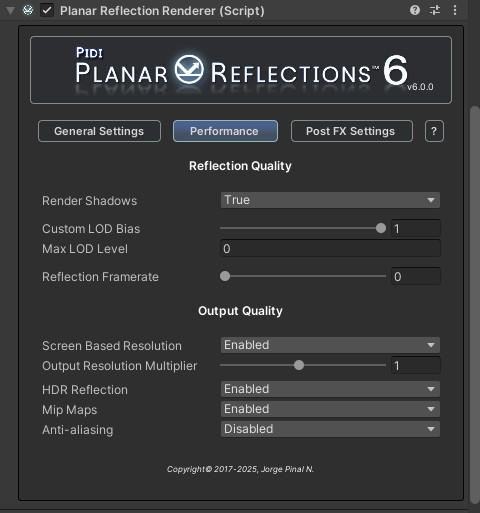
PIDI Planar Reflections 6 offers a lot of different options to fine tune the performance of the effect, as well as many internal optimizations compared to previous releases. Shadows can be disabled on a per-reflection basis, and a Custom LOD Bias and Maximum LOD Levels can be set to further reduce the visual fidelity of the reflected image compared to the main game’s view, further reducing the performance hit. Reflections can be further optimized by reducing their framerate. Depending on your game’s style and target platforms it may be desirable to use a lower framerate in your reflections to save some performance. However, by default, this is disabled and the framerate is set to zero instead (which means that reflections are updated every single frame).
The final resolution of the reflection can have a huge impact in performance, especially in scenes with complex shaders and visual effects. The resolution of the reflection can be set manually, or it can be based on the actual screen size the game is being rendered at, to ensure that the reflections keep a consistent quality at different screen resolutions. Additionally, certain features applied to the output can help ensure a higher quality with a lower performance cost. Mip Maps paired with Anti-aliasing can allow for the reflections to be blurred with PBR enabled shaders as well as improve the look on lower resolution outputs, while HDR reflections will automatically be compatible with Bloom and other post process effects without the overhead of actually computing Post FX on the reflection itself.
Post FX Settings
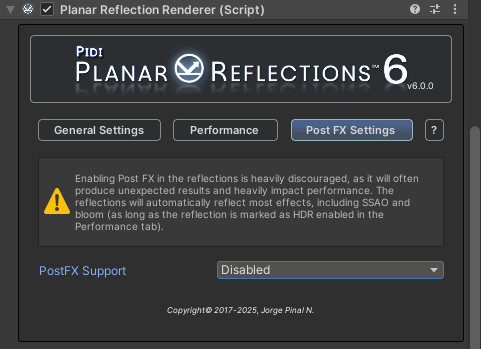
Each Reflection Renderer component can set up support for Post Process FX with their unique volume layer masks. However, in most cases, it is heavily discouraged to enable Post FX support for the reflections themselves. SSAO and most basic effects will be reflected without issues in URP out of the box. This is mostly a legacy feature, now obsolete.
Help & Support
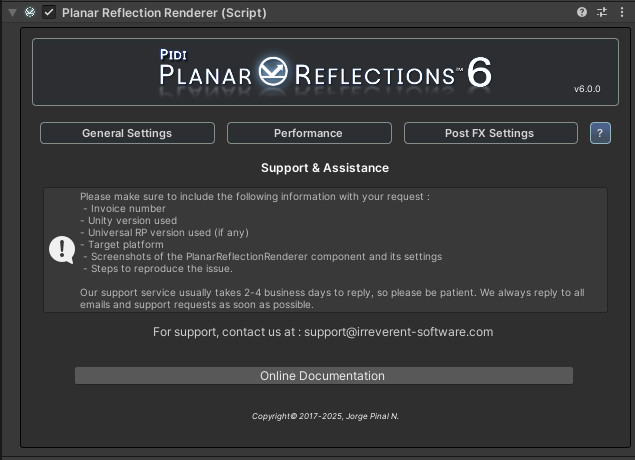
The last tab of the UI includes a small guide so that you can request support for our asset in a more efficient way, detailing steps to contact us and the information we require. It also contains a button that will take you to the latest version of this documentation file